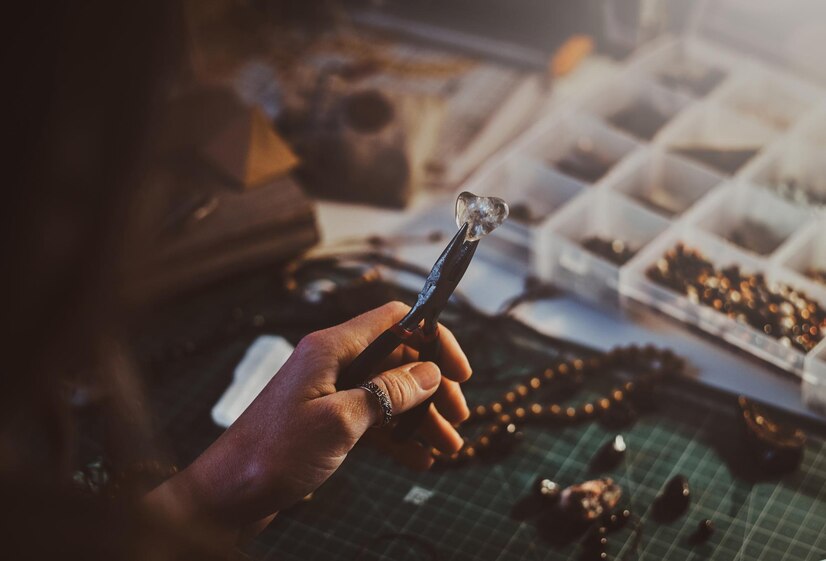
Necklaces hold a special place in our hearts, often carrying sentimental value or serving as cherished fashion statements.
However, wear and tear, accidents, or simply the passage of time can take their toll on these beloved pieces of jewelry. When faced with a broken necklace, it’s natural to feel dismayed, but fear not—many issues can be resolved with the right knowledge and tools.
In this comprehensive guide, we’ll explore everything you need to know about necklace repair, empowering you to restore your favorite pieces to their former glory.
Assessing the Damage
The first step in necklace repair is to assess the damage. Examine the necklace carefully, noting any broken links, missing stones, or other issues. Take note of any sentimental or valuable components that require special attention.
Understanding the extent of the damage will help you determine the best course of action for repair.
DIY vs. Professional Repair
Once you’ve assessed the damage, you’ll need to decide whether to tackle the repair yourself or seek professional assistance.
While simple repairs like reattaching a clasp or fixing a broken link can often be done at home with basic tools and supplies, more complex issues may require the expertise of a professional jeweler.
Consider factors such as your skill level, the value of the necklace, and the complexity of the repair before making a decision.
Common Necklace Repairs and How to Fix Them
Reattaching a Clasp
One of the most common necklace repairs is reattaching a clasp that has come loose or broken. To fix this issue, you’ll need jewelry pliers, jump rings, and a new clasp if necessary.
Simply use the pliers to open a jump ring, attach it to the end of the necklace chain, and then attach the clasp to the jump ring. Close the jump ring securely using the pliers, and your necklace should be good as new.
Repairing Broken Links
If your necklace has a broken link, you can often repair it by using jump rings to reconnect the broken ends.
Use jewelry pliers to open a jump ring, thread it through the broken ends of the chain, and then close the jump ring securely. For added strength, you can use two jump rings on either side of the broken link.
Replacing Missing Stones
If your necklace has missing stones, you can replace them with new ones to restore its beauty. Start by measuring the size of the missing stone and then purchase a replacement stone that matches both the size and color of the original.
Use jewelry adhesive to secure the new stone in place, taking care to align it properly with the surrounding stones.
Restringing Beaded Necklaces
For beaded necklaces that have broken strands or loose beads, restringing is often necessary. Start by removing any remaining beads from the broken strand and then measure the length of the necklace.
Cut a new piece of beading wire to the appropriate length, and then thread the beads onto the wire, securing them in place with crimp beads or knots. Once all the beads are in place, attach a new clasp to the ends of the wire to complete the repair.
Preventive Maintenance Tips
To prevent future damage to your necklaces, consider implementing some preventive maintenance measures:
- Store your necklaces in a jewelry box or pouch to protect them from dust, moisture, and scratches.
- Avoid wearing your necklaces while engaging in activities that could subject them to excessive wear and tear, such as sports or heavy lifting.
- Periodically inspect your necklaces for signs of damage, such as loose clasps or missing stones, and address any issues promptly to prevent further damage.
Cleaning and Polishing
Regular cleaning and polishing can help maintain the beauty and luster of your necklaces. Use a gentle jewelry cleaner and a soft cloth to remove dirt, oils, and tarnish from the necklace’s surface.
For stubborn tarnish or dirt buildup, you can use a soft-bristled brush or a polishing cloth specifically designed for jewelry. Be sure to dry the necklace thoroughly after cleaning to prevent water damage.
Addressing Tangled Chains
Tangled chains can be frustrating to deal with but are a common issue with necklaces. To untangle a chain, lay the necklace flat on a smooth surface and gently separate the chains using a straight pin or needle.
Take your time and be patient, as forcing the chains apart can cause further damage. Once untangled, carefully inspect the chains for any kinks or weak spots that may need repair.
Repairing Broken Charms or Pendants
If your necklace features charms or pendants that have come loose or broken off, you can often repair them using jewelry adhesive or soldering.
Clean the surfaces of the charm or pendant and the necklace chain to ensure a secure bond, then apply a small amount of adhesive or solder to reattach the pieces.
Be sure to follow the manufacturer’s instructions for the adhesive or soldering material you’re using, and allow ample time for the repair to set before wearing the necklace.
Conclusion
Necklace repair doesn’t have to be daunting—armed with the right knowledge and tools, you can restore your favorite pieces to their former glory.
Whether you’re reattaching a clasp, repairing broken links, or replacing missing stones, following the steps outlined in this comprehensive guide will help you tackle common necklace repairs with confidence.
By taking preventive maintenance measures and addressing issues promptly, you can ensure that your necklaces remain beautiful and wearable for years to come.


