Properly installing insulated PEX pipe in your home can greatly improve the efficiency of your plumbing system. PEX (cross-linked polyethylene) pipe is a popular choice for residential
plumbing due to its flexibility, durability, and resistance to corrosion. Insulated PEX pipe, which is PEX pipe encased in foam insulation, helps prevent heat loss and can be particularly beneficial in cold climates.
In this article, we will guide you through the steps of installing an insulated PEX pipe in your home.
Step 1: Planning and Preparation
Planning and preparing with an insulating pex pipe involves ensuring efficient heat retention and preventing heat loss in plumbing systems. These pipes are ideal for cold climates or areas where maintaining consistent water temperature is crucial, offering energy savings and minimizing the risk of freezing pipes. Proper installation and insulation planning are essential to maximize the effectiveness of insulated PEX pipes in residential or commercial applications.
Step 2: Shut off Water Supply
Prior to installing the insulated PEX pipe, shut off the main water supply to your home. This will prevent any accidents or water damage during the installation process. Once the water supply is turned off, open the faucets in your home to drain any remaining water from the pipes. This step is crucial to ensure that the pipes are empty and there is no water pressure when you begin installing the insulated PEX pipe. Once the water is drained, you can proceed with the installation process safely and without any risk of water leaks or damage. Remember to follow the manufacturer’s instructions carefully to ensure a successful installation.
Step 3: Remove Existing Pipes (If Necessary)
If you are replacing existing pipes with insulated PEX pipe, you will need to remove the old pipes first. Use a pipe cutter to carefully cut and remove the old piping, taking care to avoid damaging surrounding areas. Clean the areas where the new pipes will be installed to ensure a secure connection. Make sure to measure and cut the insulated PEX pipe to the appropriate length using a PEX pipe cutter or a sharp utility knife. Slide the appropriate fittings onto the pipe and use a crimping tool to securely attach the fittings to the pipe.
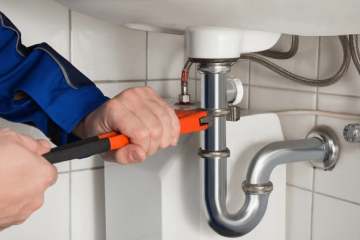
Step 4: Install Fittings and Connectors
Begin by installing fittings and connectors onto the insulated PEX pipe. Make sure to follow the manufacturer’s instructions for proper installation of fittings. Use a PEX crimping tool to secure the fittings in place, ensuring a tight and leak-free connection. It is essential to properly crimp the fittings to prevent any water leaks in the future. Once all fittings are securely in place, the insulated PEX pipe can be routed to its intended location. Take care to avoid sharp bends or kinks in the pipe that could restrict water flow. Properly support the pipe using appropriate clips or straps to prevent sagging or movement. After the pipe is positioned correctly, connect it to the water supply source, whether it be a manifold, valve, or other plumbing fixture. Double-check all connections to ensure they are tight and leak-free. Turn on the water supply and check for any leaks along the pipe or fittings..
Step 5: Route and Secure the Insulated PEX Pipe
Carefully route the insulated PEX pipe along the planned path, making sure to avoid any sharp bends or kinks that could restrict water flow. Use clamps to secure the pipe in place, keeping it a safe distance away from any heat sources or electrical wiring. Properly supporting the pipe will prevent sagging and ensure a reliable plumbing system. Remember to follow manufacturer guidelines for installation and use appropriate fittings to connect the PEX pipe to fixtures and supply lines. Pressure test the system before covering the pipes to check for any leaks or issues. Insulating the pipes in cold areas will help prevent freezing and potential damage. Regularly inspect the system for any signs of wear or damage, and address any issues promptly to maintain the efficiency and longevity of your plumbing system.
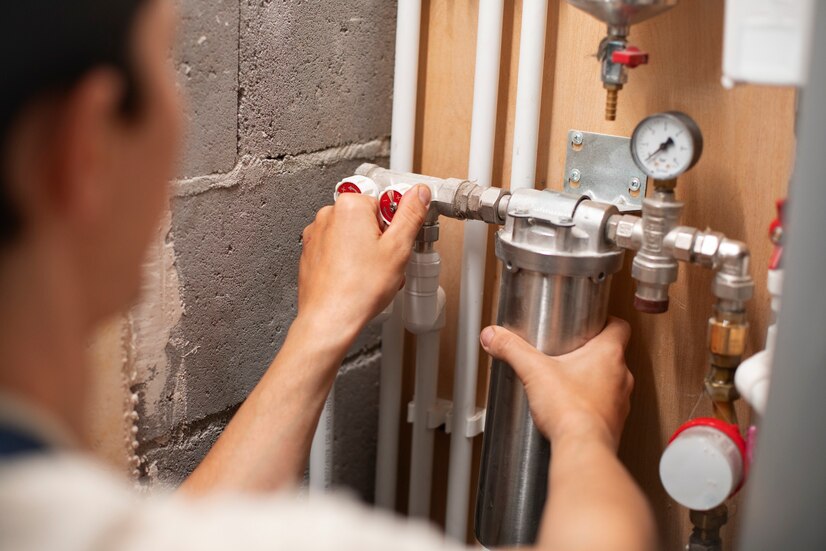
Step 6: Insulate the Pipes
Once the insulated PEX pipe is in place, it is crucial to insulate it properly to maximize energy efficiency. Use pipe insulation tape or foam pipe insulation to cover the exposed sections of the pipe. Insulating the pipe will help prevent heat loss and maintain hot water temperatures, especially in unheated areas such as basements or crawl spaces. Proper insulation of the PEX pipe will also prevent freezing during cold weather, reducing the risk of pipe bursts and water damage. It is important to ensure that all joints and connections are properly insulated as well to maintain the overall efficiency of the system.
Step 7: Pressure Test the System
After completing the installation, it is recommended to pressure test the plumbing system to check for any leaks or issues. Close all the faucets and valves, then pressurize the system to the recommended pressure level. Monitor the pressure for a period of time to ensure it remains stable. If there are any leaks, make the necessary repairs before using the plumbing system. After completing the installation, it is recommended to pressure test the plumbing system to check for any leaks or issues. Close all the faucets and valves, then pressurize the system to the recommended pressure level.
Conclusion
Properly installing insulated PEX pipe in your home can provide numerous benefits, including improved energy efficiency, reduced heat loss, and a reliable plumbing system. By following the steps outlined in this guide and ensuring careful planning and execution, you can successfully install an insulated PEX pipe in your home. Remember to consult professional plumbers or experts if you encounter any challenges during the installation process. Enjoy the benefits of a well-insulated plumbing system with an insulated PEX pipe!