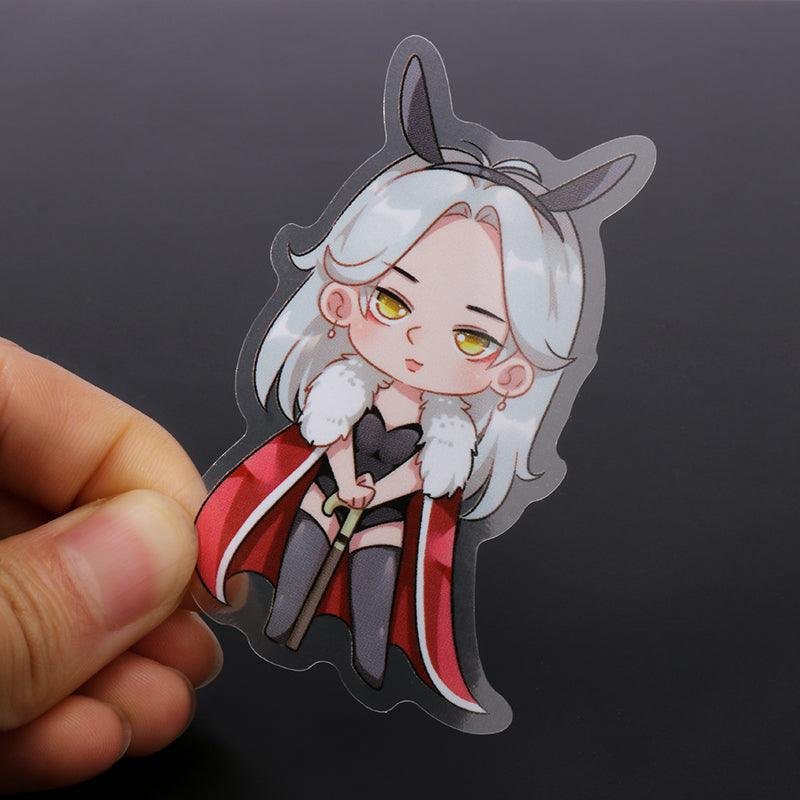
Most individuals only sometimes come across stickers that fit their creativity and imagination to the best of their desires. This may annoy because obtaining generic stickers fails to meet the needs of the people as individuals with their desired quality for projects or brands to be branded.
Accepting mediocrity in your work can water down your creativity tremendously. Fortunately, many do not know that creating your Sticker Packs of customization is not as complicated as it may seem. This DIY guide will assist you in developing enduring, great-looking stickers that capture your vision completely.
Custom stickers are an exciting way to show how creative you can be. If you follow the correct procedures and use the appropriate materials, you’ll be surprised how easy it is to make stunning stickers from your drawings. Below is a step-by-step guide that should aid you in the process.
Gather the Materials You’ll Need
In part one of making your own stickers, the first thing to do is to round up everything that is required. Begin with a good-quality printer, preferably an inkjet printer. Inkjet printers are ideal for creating material with high brightness and rich color in layouts. You also need adhesive sticker paper. This paper is also available in various finishes: glossy or matte, depending on your preferences.
Next, select a cutting tool. If you’re okay with accuracy, a craft knife with a cutting mat supplements the process nicely. But if you do not want to go through the somewhat tedious process of the abovementioned tools, you can get by with a good pair of scissors. If people are serious about their stickers, getting a cutting machine such as a Cricut should be on the agenda. This machine helps fashion finer details into your designs and is time-saving.
Finally, make laminating sheets available at your disposal and ready for use. Stacking laminated sheets will also safeguard your stickers from tear and wear. They also give strength and can make your stickers waterproof, enabling them to last longer. With all these materials in place, you can move on to the fun part: designing your stickers.
Design Your Stickers
Deciding how your stickers will look is where the creative input is at its peak, or at least it can be. There are many options for designing something with excellent looks. For amateurs, Canva is undoubtedly the best place. It is easy to use since you can just drag and drop, which makes it easier to create good designs. Depending on your desired design, you can create a new page by selecting an existing template or just creating your own.
For those of you with more experience, try Procreate or Adobe Creative Cloud. Procreate is ideal for digital illustrations and has many brushes and tools for drawing detailed graphics. Four excellent software and additional software offered by Adobe Creative Cloud, like Illustrator, Photoshop, etc., are helpful for more specialized graphic design.
Regardless of the tool you will be using, keep your design at least 300 DPI for better-quality prints. Once your design is finished, try to export it in a proper format like PNG or PDF. This format will ensure that you retain the quality of your design once you decide to print the document. Then, you can proceed to implement your ideas.
Print Stickers
It is always thrilling to print your stickers. First, check your printer’s print settings because you need to print on sticker paper. Choose the best print option to obtain pop colors and clear, detailed images on the tee shirts. You should print on regular paper before writing on the postcard to ensure your design looks okay.
After that, print your design on the adhesive paper and remove the sticker once you are done. For extra security and lasting, laminating sheets should be recommended. After printing, put a laminating sheet on your sticker design, then laminate it before use. Nevertheless, stickers are not limited to clothing and accessories; they can be applied on any surface or object, as explained below. It is essential to do this so that your artistic stickers are not spoiled by moisture, scratched off quickly, or fade away.
Cut the Stickers
Once your custom stickers are printed and laminated, you should be prepared to cut them out. If you’re using scissors, don’t rush yourself; use your fingers and control the scissors as you trace each edge of your design. A craft knife is slightly better suited for this because it can cut with more accuracy when using these designs. As long as you are cutting on a mat, be careful not to damage any surfaces.
If you have a Cricut or a similar cutting machine, this is the simplest step, but if you don’t, let me give you the easiest way. Take your design, input it into the machine, and let it cut for you instead. This ensures you make neat and uniform cuts related to your stickers, hence making them look more professional. Therefore, follow the following instructions from the machine and the right material settings.
Conclusion
It is always fun and rewarding to create personalized stickers, and they come in handy when you need them. Therefore, it is important to assemble the right materials and follow the steps laid above so that you can come up with great work that complements your personality. You also build skills on the way, which not only helps to improve your DIY skills but also prepares you for future self-projects or gifts.


