Maintaining your Ring Doorbell 2 is crucial to ensure its functionality and longevity. The device’s battery may need replacement or maintenance periodically to keep your home security system operating efficiently. Knowing how to remove the Ring Doorbell 2 for these tasks is essential. We will explore how to remove ring doorbell 2 from mounting bracket for battery replacement or general maintenance. Whether upgrading to a new battery or performing routine checks, this process is straightforward once you understand the necessary steps.
Preparation and Safety First
Before removing your Ring Doorbell 2, ensure you have the right tools and follow safety precautions. Ensure you have a screwdriver, a replacement battery (if needed), and a soft cloth to protect your device from scratches. Start by turning off the power to the doorbell, if it’s hardwired, to avoid any electrical hazards. Even if you’re working with just the battery, handling the device carefully and turning off any power source connected to it is a good practice. Ensure that your work area is clean and well-lit to avoid losing small parts like screws.
Removing the Ring Doorbell 2
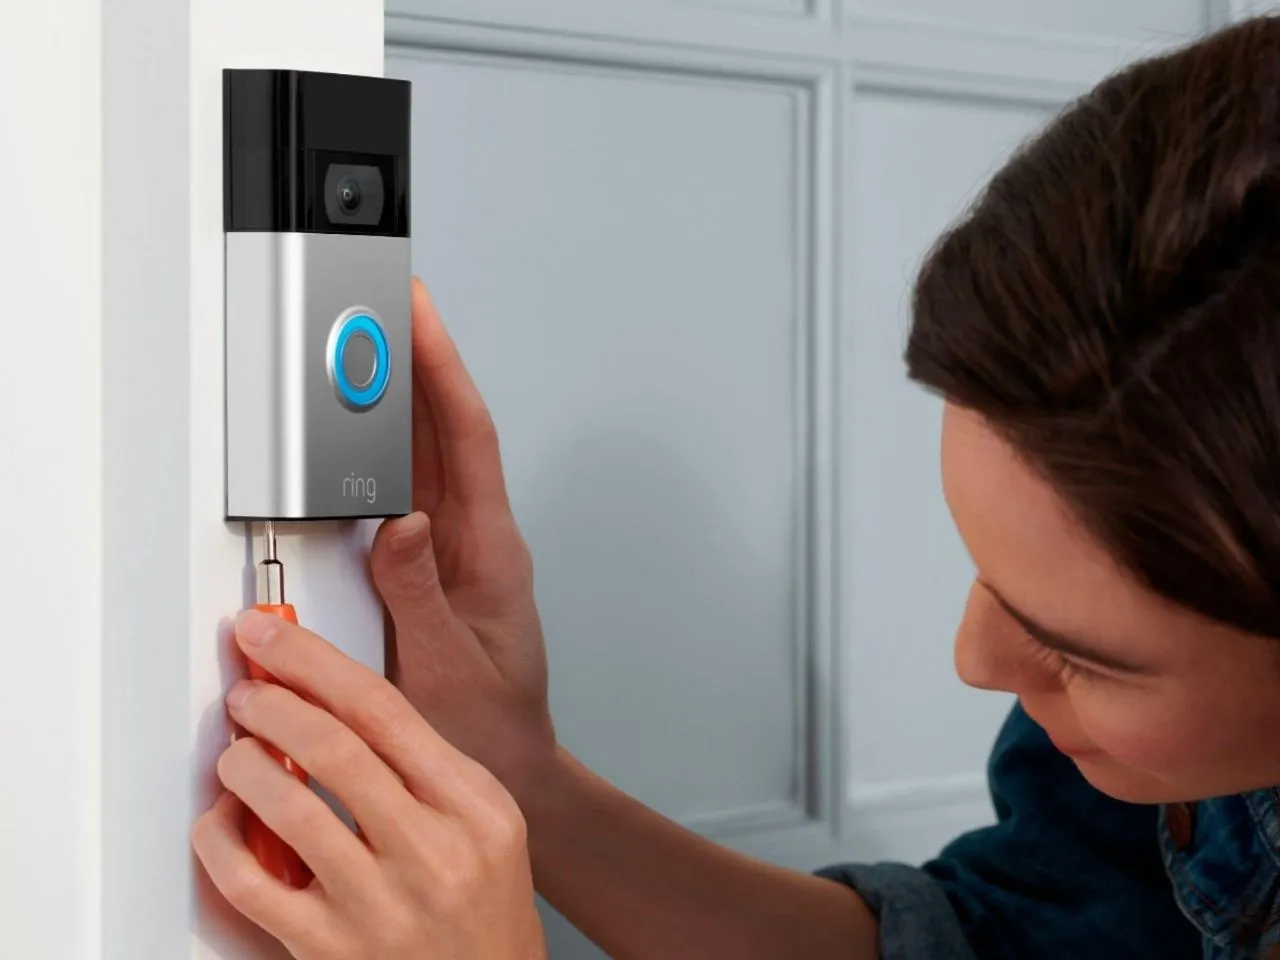
To remove the Ring Doorbell 2, begin by using the screwdriver to take out the security screws located at the base of the device. These screws are designed to secure the doorbell to its mounting bracket and are often tamper-resistant. Once these screws are removed, gently pull the doorbell off its mounting bracket. Be cautious not to pull too hard, as this can damage the device or the wires if it is hardwired. If your device is only battery-operated, it should come off quickly. If connected to a power source, carefully disconnect the cables before removing the doorbell.
Battery Replacement Procedure
After removing the Ring Doorbell 2, locate the battery compartment on the back of the device. Typically, the battery is secured, but you may need to press a release button or latch to free it. Remove the old battery and replace it with a new one, ensuring it is properly seated in the compartment. The battery should fit snugly without any force. Once the new battery is in place, reattach the battery compartment cover. This step is crucial to ensure the battery remains secure and not dislodged over time.
Reinstalling the Doorbell
With the new battery installed or maintenance completed, it’s time to reinstall your Ring Doorbell 2. Align the device with the mounting bracket and gently press it into place. Ensure that the device is securely attached by tightening the security screws you removed earlier. If your doorbell was hardwired, carefully reconnect the wires, matching them to their original positions. After reinstallation, check that the doorbell is functioning properly by pressing the doorbell button and ensuring it powers up and connects to your home network as expected.
Testing and Final Adjustments
Once the Ring Doorbell 2 is reinstalled, testing its functionality is essential to confirm everything works correctly. Press the doorbell button and check if the video feed is operational through the Ring app. Ensure that motion detection and video recording features are functioning as expected. If you encounter any issues, double-check the battery installation, the connection of the mounting bracket, and any hardwired connections. Making any necessary adjustments at this stage will help avoid future issues and ensure that your doorbell continues to provide reliable security for your home.
Understanding Battery Life and Maintenance
The battery life of your Ring Doorbell 2 can vary based on several factors, including the frequency of use, the level of activity around the doorbell, and environmental conditions. Generally, the battery should last between 6 to 12 months before requiring a replacement. To extend the battery’s lifespan, consider adjusting the motion detection settings and the frequency of video recording in the Ring app. Lowering the motion detection sensitivity or reducing the duration of video recording can decrease battery consumption. Regularly checking the battery level in the Ring app will help you anticipate when a replacement might be necessary, ensuring that your doorbell remains operational without unexpected interruptions.
Troubleshooting Common Issues
While removing and reinstalling your Ring Doorbell 2 is typically straightforward, you may encounter some common issues. If the doorbell does not power after reinstalling, ensure the battery is seated correctly and all connections are secure. For hardwired devices, check that the wires are correctly connected and that there are no loose or frayed connections. If the doorbell fails to operate, try resetting the device by following the manufacturer’s instructions. Ensure the Ring app is updated and properly synced with the doorbell. Addressing these common issues promptly can help maintain the effectiveness of your Ring Doorbell 2 and ensure that it continues to provide reliable security for your home.
Removing and maintaining your Ring Doorbell 2 is manageable when you understand the proper steps involved. By preparing adequately, following a systematic approach to removal and reinstallation, and testing the device after maintenance, you can ensure that your home security system remains in excellent condition. Regular maintenance and battery replacement are vital to keeping your Ring Doorbell 2 functioning optimally. With these guidelines, you can confidently handle battery replacements and other maintenance tasks, keeping your home safe and secure.