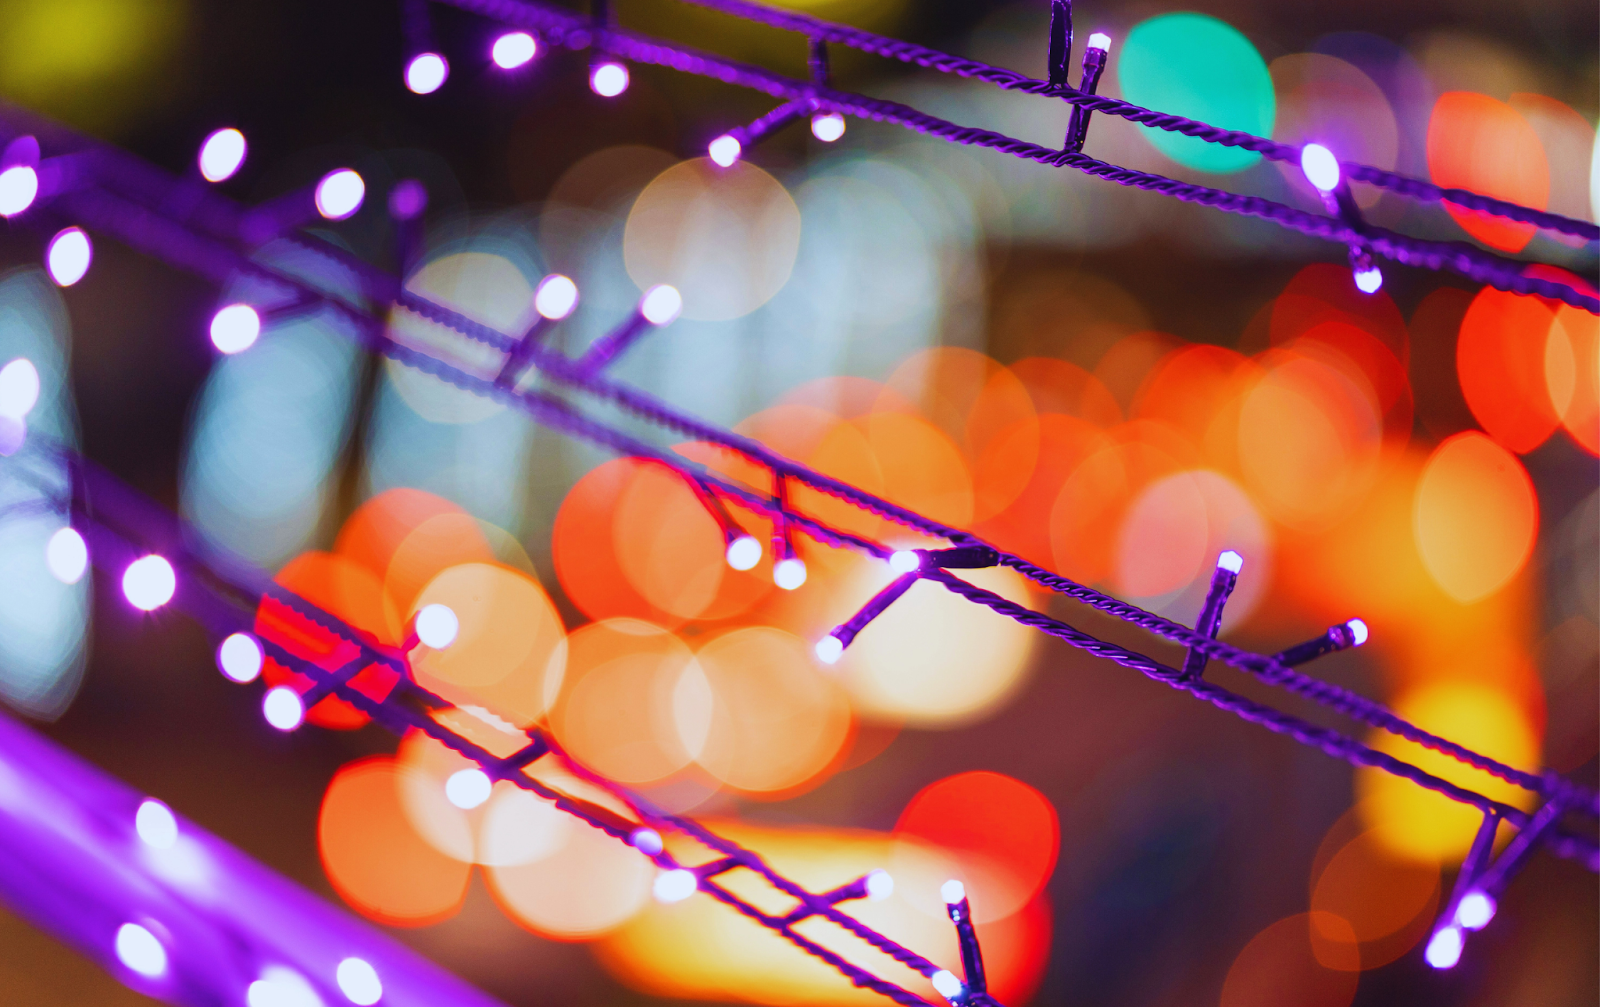
Addressable LED pixel module string lights offer a wealth of creative opportunities for DIY enthusiasts. These lights can be individually programmed to display a wide range of colors, animations, and effects, making them ideal for a variety of projects. This comprehensive guide provides step-by-step instructions for several DIY projects, including custom LED signs, mood lighting installations, and interactive displays, with a focus on utilizing addressable LED technology.
1. Understanding Addressable LED Pixel Module String Lights
Addressable LED pixel module string lights consist of individual LED modules, each equipped with its own control chip. This configuration allows for independent control of color and brightness. Common control chips include SK6812, WS2811, and DMX, each offering unique capabilities and compatibility with different controllers.
Key Features:
- Individual Control: Each LED module operates independently, enabling complex animations and effects.
- Flexibility: The strings can be manipulated into various shapes, making them versatile for different applications.
- Customization: Using an external controller, these lights can display a myriad of colors and patterns.
2. Materials and Tools Needed
To start on these DIY projects, gather the following materials and tools:
- Addressable LED pixel module string lights
- Power supply suitable for your LED string
- Microcontroller (e.g., Arduino, Raspberry Pi)
- Connecting wires and connectors
- Soldering iron and solder
- Heat shrink tubing or electrical tape
- Software for programming the LEDs (e.g., Arduino IDE)
3. Project 1: Custom LED Signs
Creating custom LED signs is a popular project that showcases the versatility of addressable LEDs. These signs are perfect for personal decor, events, or business signage.
Step-by-Step Instructions:
- Design Your Sign: Sketch your design, determining the placement of each LED module.
- Mount the LEDs: Attach the LED modules to a backing material, such as acrylic or wood, following your design.
- Wiring: Connect the LED modules in series, ensuring proper power and data connections.
- Programming: Write a program to control the LEDs, defining the colors and animations for your sign. Libraries like FastLED for Arduino simplify coding.
- Power Up: Connect the power supply and upload your program to the microcontroller. Test and adjust the animations as needed.
Technical Insights:
- Use a diffuser to create a more uniform light distribution.
- Employ a high-CRI (Color Rendering Index) LED light module for accurate color representation.
4. Project 2: Mood Lighting Installations
Mood lighting installations can drastically alter the atmosphere of any room. Addressable LED pixel modules allow for dynamic and customizable lighting setups that can adapt to different moods and activities.
Step-by-Step Instructions:
- Plan Your Layout: Decide on the placement of the LED strips or modules in your room (e.g., under cabinets, behind furniture, around mirrors).
- Install the LEDs: Secure the LED strips or modules using adhesive backing or mounting clips.
- Connect the Controller: Wire the LEDs to a microcontroller and power supply, ensuring correct data line connections.
- Program the Effects: Create a program to control the lighting effects, setting different modes for various occasions (e.g., relaxing, party, reading).
- Test and Adjust: Power up the system, run your program, and make any necessary adjustments to the lighting effects.
Technical Insights:
- Consider using addressable Christmas lights for seasonal decor that can be customized throughout the year.
- Integrate with smart home systems for remote control and automation.
5. Project 3: Interactive Displays
Interactive displays engage users by responding to their actions. These can be used in educational settings, exhibitions, or as interactive art pieces.
Step-by-Step Instructions:
- Design the Display: Plan the layout and functionality, considering how users will interact with it (e.g., touch, motion sensors).
- Set Up Sensors: Install sensors (e.g., IR sensors, capacitive touch sensors) that will trigger the LED animations.
- Mount the LEDs: Attach the LED modules in the desired pattern on your display surface.
- Connect Everything: Wire the sensors and LEDs to a microcontroller, ensuring all connections are secure and properly insulated.
- Program the Interactions: Write a program that responds to sensor inputs by changing the LED patterns, providing real-time feedback.
- Test and Refine: Run your display, interact with it, and adjust as needed to improve responsiveness and effects.
Technical Insights:
- Utilize individually addressable LED strips to create complex, responsive patterns.
- Ensure sensor placement maximizes user interaction efficiency.
6. Tips for Success
General Tips:
- Power Management: Ensure your power supply can handle the total current draw of all LEDs.
- Heat Management: Implement heat sinks or ventilation if your LEDs generate significant heat.
- Code Libraries: Leverage existing libraries (e.g., FastLED, Adafruit NeoPixel) to simplify programming.
- Safety: Always disconnect power when soldering or adjusting wiring.
Specific Tips for Projects:
- LED Signs: Use a diffuser to soften the light and create a more uniform appearance.
- Mood Lighting: Integrate with smart home systems for voice and remote control.
- Interactive Displays: Test sensor placement thoroughly to ensure reliable interaction.
7. Conclusion
Addressable LED pixel module string lights provide endless opportunities for DIY projects. Whether creating custom LED signs, mood lighting installations, or interactive displays, these lights offer flexibility and creativity. By following these step-by-step instructions and tips, you can bring your lighting ideas to life, enhancing any environment with dynamic and engaging illumination.

