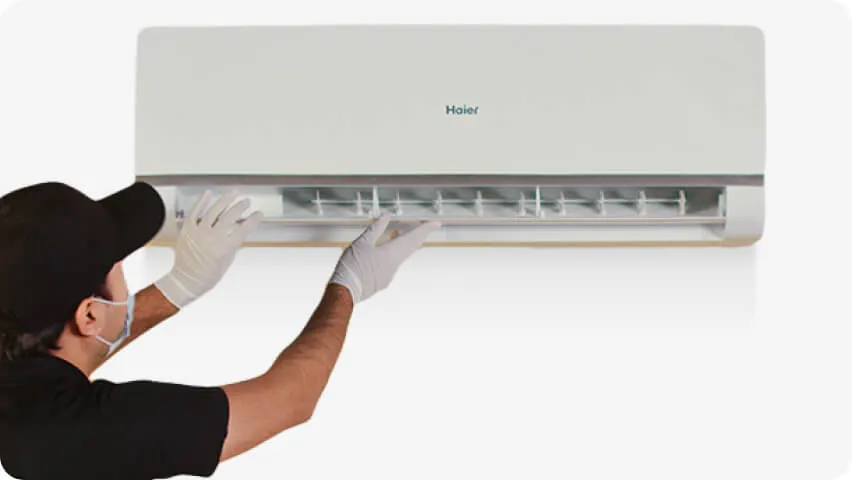
Air conditioners are essential for maintaining a comfortable indoor environment, especially during hot summer. While many people opt to hire professionals like https://www.socool.sg/ for air conditioner installation, it is indeed feasible to install one on your own with the right tools and guidance. This comprehensive guide will walk you through the step-by-step process of installing an air conditioner in a simple and easy-to-understand manner.
Preparing for Installation
Before you begin the installation process, there are a few essential considerations to keep in mind:
Unit Selection
Select an air conditioner that suits your needs and the size of the area you want to cool. Air conditioners come in various sizes and capacities, so it’s essential to choose the right one to ensure efficient cooling.
Safety Precautions
Safety should always be a priority. Make sure to disconnect the power source and take necessary safety measures before starting the installation process.
Indoor Unit Installation
Choosing the Right Location
The placement of the indoor unit is crucial for its efficiency. Follow these steps:
- Select a location on an interior wall that is unobstructed and away from direct sunlight or heat sources.
- Avoid areas where sulfur or oil mist may exist or where gas leaks are possible.
- The indoor unit should be mounted at least 7 feet above the ground, with a 6-inch open space around its sides and top.
- Maintain a minimum of 1 meter distance from antennas, power lines, or other electronic devices.
- Ensure that the wall can support the unit’s weight. If not, consider constructing a support frame.
Fixing the Mounting Plate
- Position the mounting plate against the chosen location.
- Use a level to ensure it is horizontally straight.
- Drill holes in the wall at the marked spots and secure the plate using tapping screws and plastic anchors.
Creating a Hole for Piping
- Locate the best spot for the hole on the exterior wall, considering the pipe length and the distance to the outside unit.
- Drill a 3-inch diameter hole that slopes downward for proper drainage.
- Insert a flexible flange into the hole to seal it.
Electrical Connections
- Remove the cover by lifting the front panel of the indoor unit.
- Connect the cable wires to the terminals as indicated in the unit’s diagram.
Connecting the Pipes
- Pass the piping through the indoor unit to the wall hole, minimizing bending.
- Cut a PVC pipe slightly shorter than the distance between the interior and exterior walls.
- Place the pipe cap on the interior end and insert the pipe into the wall hole.
- Secure the copper pipes, drain pipes, and power cables together using electrical tape. Ensure that the drain pipe is positioned at the bottom.
- Attach the pipes to the indoor unit and tighten the connection with two wrenches.
- Connect the water drainage pipe and route the cables and lines through the wall hole, ensuring proper water drainage.
Securing the Indoor Unit
- Press the indoor unit against the mounting plate to ensure it is securely mounted.
Outdoor Condenser Installation
Selecting the Outdoor Location
- The placement of the outdoor unit is equally crucial:
- Choose a spot away from excessive heat, dust, and high-traffic areas.
- Leave a 12-inch space around the unit to allow for proper airflow.
Using a Concrete Pad
- Place a level concrete pad on the ground to support the condenser.
- Ensure that the pad is elevated to prevent flooding and snow accumulation.
- To reduce vibrations, place a rubber cushion beneath the condenser.
- Keep any antennas or electronic devices at least three meters away from the condenser.
Electrical Wiring
- Remove the cover on the outdoor unit.
- Refer to the unit’s wiring diagram and connect the cable wires as instructed.
- Secure the cables using a cable clamp and replace the covers.
Attaching the Pipes
- Fasten the flare nuts of the pipes to the appropriate pipes on the outdoor unit.
Finalizing the Installation
Bleeding Humidity and Air
- Remove the caps from the two and 3-way valves and the service port.
- Attach a vacuum pump hose to the service port.
- Please turn on the vacuum pump until it reaches an absolute vacuum of 10 mm HG.
- Turn off the low-pressure knob and shut down the vacuum.
- Check all joints and valves for leaks.
- Replace the service caps and port, and then disconnect the vacuum.
Insulation and Sealing
- Use insulating covers and insulating tape to seal piping joints.
- Secure the piping on the wall with clamps.
- Seal the wall hole with expanding polyurethane foam.
Important Tips
- Be sure to complete all steps, especially insulating the tubes between the indoor and outdoor units, to prevent damage.
- Ensure an uninterrupted power supply to the air conditioner.
- Always follow the manufacturer’s instructions, as outlined in the user manual, when installing the system in your home or office.
Click here to learn more at https://www.socool.sg/aircon-installation/.
Conclusion
Installing an air conditioner may seem daunting, but by following these simple and comprehensive steps, you can successfully set up your cooling system. Taking the time to do it right can lead to a comfortable and efficient cooling experience in your home or office. Keep safety and manufacturer’s instructions in mind, and you’ll enjoy the benefits of a properly installed air conditioner in no time.


