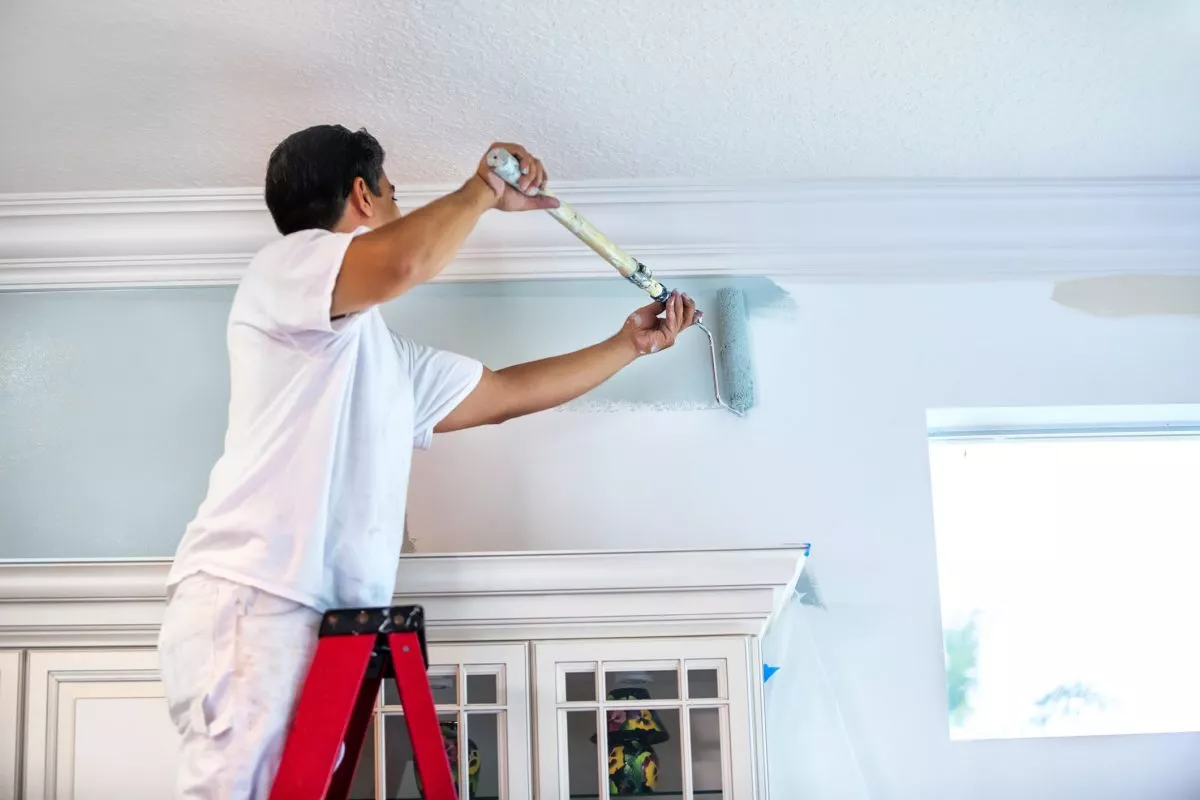
Preparing your home for a fresh paint job is essential to achieving a flawless finish and ensuring the longevity of the paint. Proper preparation can significantly affect the final appearance and durability of the paint job. From cleaning and repairing surfaces to protecting your belongings, each step in the preparation process plays a crucial role. We will explore the necessary steps to effectively prepare your home, ensuring a smooth and successful painting experience.
Assess and Repair Surfaces
The first step in preparing for house painting involves assessing and repairing any surfaces that require attention. Inspect the walls, ceilings, and trim for any damage or imperfections. Look for cracks, holes, and dents that need to be addressed. Use a spackling compound or joint compound to fill in these imperfections. For larger holes, you may need to apply a patching compound and sand it smooth once it has dried. Repairing these areas ensures the paint adheres properly and provides a uniform surface. Additionally, check for any mold or mildew, especially in damp areas, and treat these issues accordingly. Proper surface preparation helps achieve a smooth and even paint application, preventing issues like peeling or uneven coverage.
Clean the Walls Thoroughly
Cleaning the walls thoroughly is another critical step before painting. Dust, dirt, and grime can interfere with the paint’s ability to adhere to the surface, leading to unsatisfactory results. To remove loose particles, begin by dusting the walls with a dry cloth or a vacuum with a brush attachment. Next, wash the walls with a mild detergent solution and a sponge or cloth. Use a stronger cleaning solution or a degreaser for stubborn stains or grease. Rinse the walls with clean water and let them dry completely before painting. A clean surface ensures that the paint adheres properly and helps achieve a smooth and even finish.
Protect Your Belongings and Floors
Protecting your belongings and floors is essential to preparing for a paint job. Start by moving or covering furniture and other items in the room. If possible, remove items from the room entirely to avoid any accidental splatters or damage. Cover items that cannot be moved with drop cloths or plastic sheeting. Protect your floors by laying down drop cloths or painter’s plastic. Secure the coverings with painter’s tape to prevent them from shifting. This precautionary measure helps keep your belongings and flooring free from paint splatters and spills, ensuring a cleaner and more efficient painting process.
Tape and Mask Off Areas
Taping and masking off areas is crucial for achieving clean lines and protecting surfaces that should not be painted. Start using painter’s tape to cover edges where the walls meet the ceiling, trim, or adjacent walls. Ensure the tape is applied straight and pressed down firmly to prevent paint from bleeding underneath. For areas like window panes, door frames, and baseboards, use masking tape or painter’s tape to cover them completely. This will create sharp, clean lines and prevent paint from getting onto surfaces that should remain unpainted. Proper taping and masking help achieve a professional-looking finish and reduce the touch-up work required after completing the paint job.
Choose the Right Paint and Tools
Selecting the right paint and tools is essential for a successful paint job. Choose a high-quality paint appropriate for the surface you are painting and the room’s conditions. For example, use a washable paint for high-traffic areas or a mildew-resistant paint for bathrooms. Additionally, select the appropriate tools, such as paintbrushes, rollers, and trays, based on the type of paint and the surface. Using the right tools ensures a more efficient and smooth application process. For large surfaces, consider using a roller with an extension pole to reach higher areas without needing a ladder. The right paint and tools contribute significantly to the overall quality and appearance of the finished paint job.
Ventilate the Area
Proper ventilation is crucial when painting to ensure a safe and effective application process. Paints, especially oil-based ones, can release fumes that may be harmful if inhaled in large quantities. Before starting the paint job, open windows and doors to create cross-ventilation and allow fresh air to circulate. Use fans to help increase airflow and expedite the drying process. If ventilation is limited, consider using low-VOC (volatile organic compounds) or no-VOC paints, which emit fewer fumes and are less harmful to breathe. Adequate ventilation helps maintain a safe environment and accelerates the drying time of the paint.
Prepare for Cleanup
Finally, preparing for cleanup is an essential step in the painting process. Have your cleaning supplies ready, such as paint thinner or water (depending on the type of paint used), rags, and brushes or rollers for cleaning. After completing the painting job, promptly clean your tools to prevent the paint from drying on them. Dispose of any used painter’s tape, drop cloths, or plastic sheeting properly. Ensure to ventilate the area well as the paint dries to avoid lingering fumes. Proper cleanup ensures that your tools remain in good condition for future use and that the area is tidy and organized.
Preparing your home for a fresh paint job involves several essential steps, each contributing to a successful and high-quality finish. From assessing and repairing surfaces to protecting your belongings and choosing the right paint, every aspect plays a role in achieving the desired result. By following these preparation steps, you can ensure a smooth painting process and a beautiful result that enhances the look and feel of your home. Taking the time to prepare your space correctly will lead to a more satisfying and professional-looking paint job.


